

Academy
Raspberry Pi Pico from Scratch: MicroPython in Practice
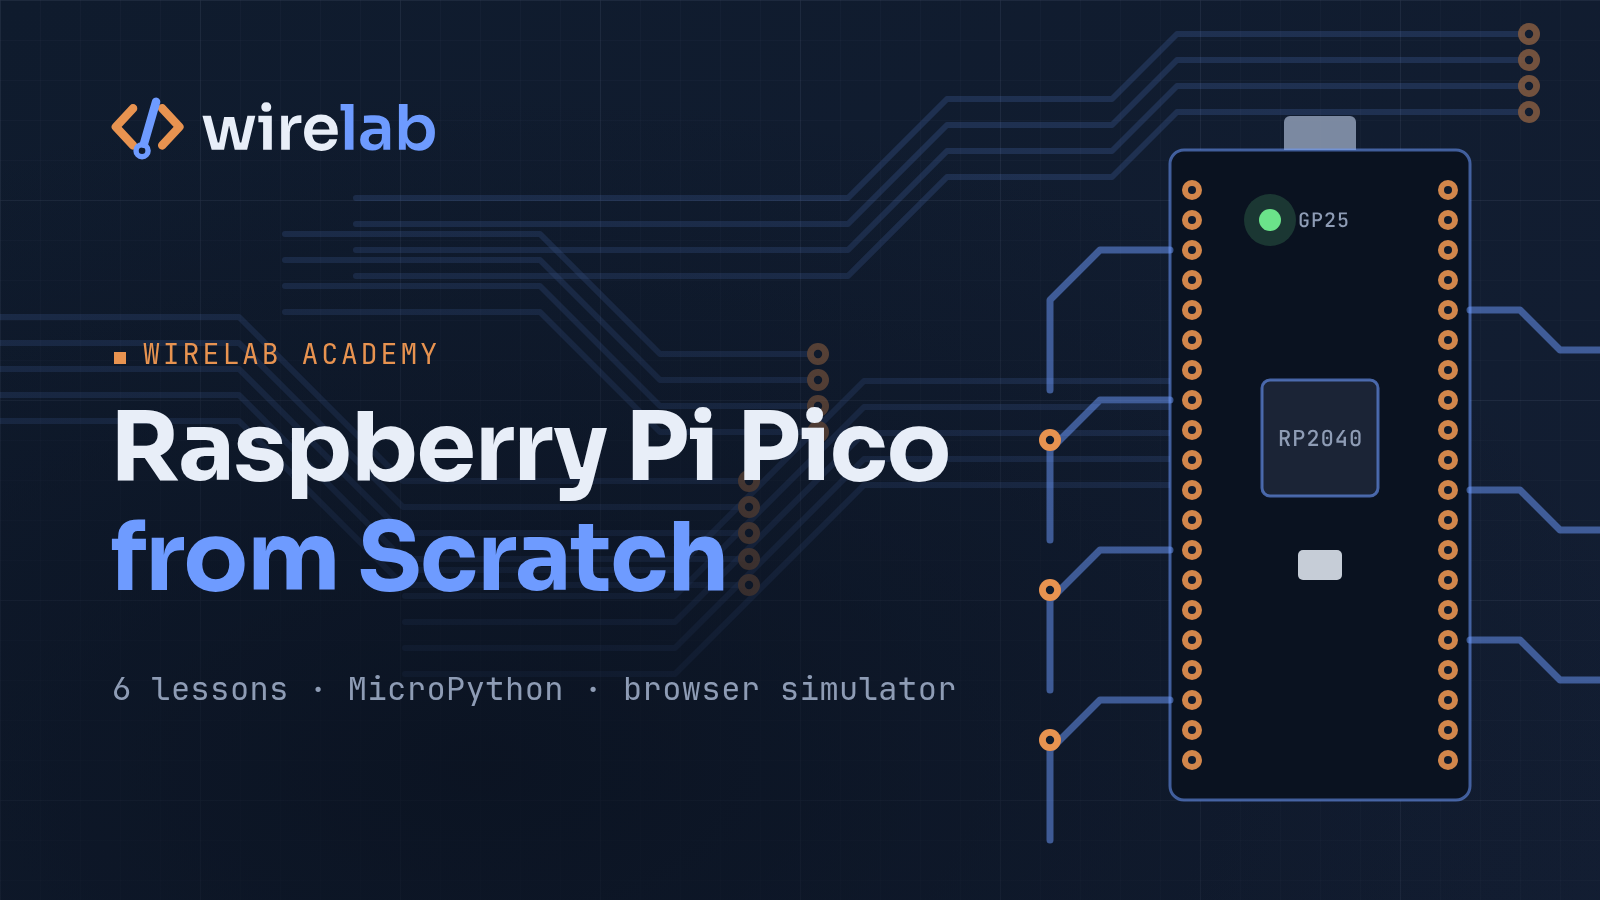
LEDs, buttons, PWM and a potentiometer on the Raspberry Pi Pico. You can run every example in a simulator in your browser, or upload it to the board with one click.
Beginner7 lessons360 minCourse in English
Lifetime access, updates included
A beginner course prepared for the wirelab forum.
The Raspberry Pi Pico is a small microcontroller board that costs a few euros. It has no operating system, starts in a fraction of a second and drives LEDs, buttons or sensors directly from its pins. In this course you program it in MicroPython: from your first blinking LED, through a button, PWM and reading a potentiometer, to a reaction game built from all of those parts.
You can run every example in your browser straight away. Next to the code blocks there are two buttons:
- "Run in simulator": a virtual Pico with real MicroPython firmware, three LEDs (GP13, GP14, GP15), two buttons (GP16, GP17) and a potentiometer (GP26). You don't need any hardware.
- "Upload to board": sends the code to your Pico over USB (Chrome or Edge on a computer, Chrome on Android).
All the diagrams in the course use the same pins as the simulator, so the code works unchanged in both places.
As of September 2026: MicroPython 1.29, the Raspberry Pi Pico, Pico W, Pico 2 and Pico 2 W boards. The simulator emulates the basic Pico (RP2040).
How to read the markers
⚠️ – things that can damage your hardware or block your progress.
🧪 – differences between the simulator and a real board.
$at the start of a line is a terminal command (don't type the$itself).
What you’ll learn
- You will choose a Pico model and parts, install MicroPython (UF2) and run code in Thonny and in the browser
- You will learn the rules for working safely with pins: 3.3 V, a resistor for the LED, power from 3V3(OUT)
- You will control LEDs with the Pin class and blink several at once without blocking your program (ticks_ms, Timer)
- You will handle buttons with the internal pull-up, edge detection and contact debouncing
- You will set LED brightness with PWM, with correction for the eye and an awareness of RP2040 slices
- You will read a potentiometer with the ADC, convert and smooth the result, and use it to control PWM
- You will build a reflex-meter game and save it as main.py so that it runs without a computer
Who it’s for
- Beginners who want to start with microcontrollers and electronics using the simplest circuits
- People who know the basics of Python and want to control hardware
- Anyone who wants to try things out before buying any parts: the whole course works in the simulator
Requirements
- A browser; to upload code over USB, Chrome or Edge on a computer or Chrome on Android
- Optional: a Raspberry Pi Pico, Pico W, Pico 2 or Pico 2 W with a micro-USB data cable
- Optional: a breadboard, 3 LEDs, 3 resistors of 330 Ω, 2 buttons and a 10 kΩ potentiometer (list in Lesson 1)
- Basic Python (variables, loops, functions) will help, but is not essential
Course programme
01Start1 lesson
- Pico, shopping list and your first run of MicroPython
02Digital outputs and inputs2 lessons
- First LED: Pin, sleep and togglePreviewQuiz: Quiz: First LED
- Button: pull-up, contact bounce and edgesQuiz: Quiz: Button
03PWM and ADC2 lessons
- PWM: brightness, "breathing" and three LEDsQuiz: Quiz: PWM
- ADC and potentiometer: reading, scaling and controlling PWMQuiz: Quiz: ADC and Potentiometer
04Final project2 lessons
- Final project: reflex meterQuiz: Quiz: Reflex Meter Project
- Sources
- Quiz: Final Quiz: Raspberry Pi Pico from Scratch
Author
wirelab